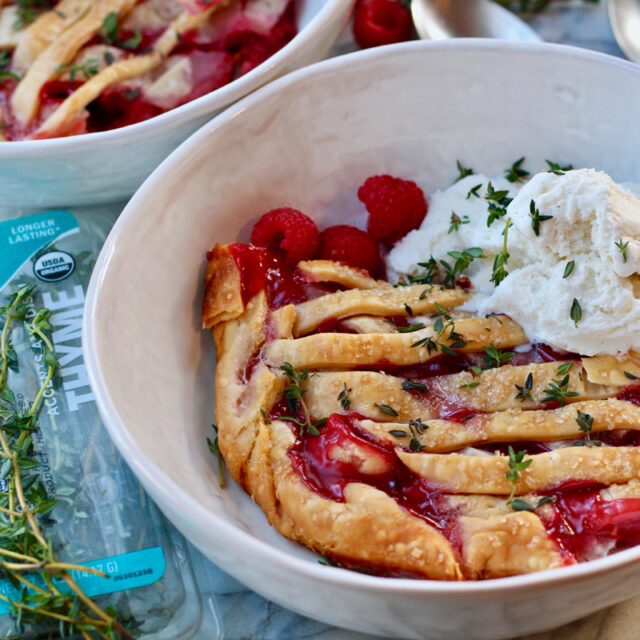
This stress-free Sheet Pan Raspberry Pie is spruced up with a Sugar-Coated THYME-INFUSED Crust that’s simply to die for. Serve it alongside some vanilla ice cream and you’ve got yourself a real treat. Let the good thymes roll!
Ingredients
- 4 Refrigerated Pie Crusts (two 2-pack packages)
- 5 cups Fresh Raspberries
- Juice of ½ a Lemon (about 1 tbsp.)
- 1 ½ cups Sugar
- ¼ cup Cornstarch
- ¼ tsp. Salt
- 4 – 5 tsp. Heavy Whipping Cream
- 1 – 2 tbsp. Coarse Cane Sugar, as needed
- Fresh Thyme Leaves
- Vanilla Ice Cream, optional for serving
Directions
- Preheat your oven to 375F.
- Slowly unwrap two of the pie crusts and roll them out on a floured surface (being careful not to rip the crust). Carefully connect the two crusts with your fingers and lay them flat inside a 9x13 inch baking sheet. You’re aiming for the joined crusts to be big enough to fit inside the surface of the sheet pan.
- For the filling: Toss the raspberries together with lemon juice, sugar, cornstarch and salt in a large mixing bowl. Carefully spread them on the pie crusts inside the sheet pan (making sure to leave around two inches of crust around the edges). Don’t worry if some of the berries get squished. Totally fine.
- Take the remaining two crusts and cut them into ½ inch strips with a knife or pizza cutter. Layer half of them evenly across the fruit mixture and then take the other half and layer them the opposite way over the fruit mixture, creating a zigzag pattern. Then you’ll take the two-inch edges and roll them up to create the crust. FYI: It’s ok for the pie to look “rustic” and have an odd shape.
- Liberally brush the entire surface of the pie with heavy whipping cream and sprinkle generous amounts of fresh thyme and course cane sugar.
- Bake for 40 minutes. Allow the pie to cool for at least 15 – 20 minutes before slicing into it. Sprinkle with additional fresh thyme and serve with a scoop of vanilla ice cream.
- Feel free to make your own pie crust if you have a favorite recipe! For foolproof convenience, we opted for refrigerated pie crusts but either will work in this recipe.
- Ideally if you can make the crust cover the entire sheet pan and go up the sides – great. If not, it’s no deal breaker. Just make sure to leave ample surface around the edges of the crust to create a small 1-inch wall when folding together. This ensures that the inside of the pie doesn’t bubble over to the outside of the pie (see photo example).
- Don’t have any fresh berries in season? Make this with frozen! The pie will turn out the same and there’s no extra time needed for thawing. Go ahead and use them frozen.
- Not a raspberry fan? This recipe would be great with blackberries, blueberries or strawberries!
- Allow pie to cool before cutting into the crust. This will ensure that the filling has set. It’ll taste and look better, we promise.
- Store leftovers in the refrigerator, inside an air-tight container, for up to three days.

